
Program Rotations
If you go to Settings and click on Rotations, you will have the ability to edit or add new Rotations and their corresponding facilities if applicable.

New Rotation Listing
If you want to create a new rotation listing, click on new. You will be brought to the following screen where you will need to enter information about the rotation. You can name the rotation, as well as provide an abbreviation, and spedify a facility where this rotation will be occuring. The Facility and Attendings lists can be managed through Lists.

Add Attendings to Rotation
You can also add Attendings to the particular rotation from your predefined list by clicking on Select Attendings. You will be able to select Attendings from the left window (one at a time) and add them to the right window. The Attendings that initially appear in the left window are Program Attendings (or Faculty). To show you institutional list of Attendings, check the Show All box. The right window will be the list of Attendings designated for that rotation.

Once you have added Attendings to the right window, you can also Remove them or designate one of them as a Group Leader. Group Leader designation is applicable to rotation evaluation generation. Click Done (or Cancel if you don't want to add Attendings to the rotation).

Once the Attendings have been added to the Rotation Listing, the Attending's last names will appear on the creation screen. Click Save when you are finished.

Create Schedule
To create a Resident schedule, click on the Schedule icon from the home screen. You can use the dropdown to select the resident you wish to either view or create a schedule for.

A link to Create Schedule will be visible if the resident currently does not have a schedule for the selected PGY. PGY is determined by the resident's appointment history so make sure to Advance residents at the beginning of each academic year for the correct PGY.
Click Create Schedule.

You will be asked to enter in an academic year that this schedule corresponds with and the default is set to the current academic year. Click Continue after the academic year has been entered.

The schedule for your resident should be populated for the academic year based on your block settings for your program and for the resident's PGY.
To add rotations and Attendings, click the corresponding cell to put it in edit mode. Clicking on a cell in the rotation column will show a dropdown list where you can select a rotation from your Rotation Listing.

If your rotation has Attendings pre-defined, they will populate in the Attending column. If not, clicking on the corresponding Attending cell will bring you to a screen where you can add Attendings. If Attendings are added to rotations this way it will not save it for future selections of this rotation. Please see Rotation Listing to establish rotation Attendings permanently. Once you select an Attending from the left side of the window, click Add to move them to the right window. You can click Remove to move Attendings back to the list and off of the rotation. Click Done when finished.

You will be brought back to the Resident schedule screen and will be able to see the Attendings associated with the rotation you picked. Repeat this process for each block and Save when finished.

Rotation Goals and Objectives
To define rotation goals and objectives, go to Settings. At the bottom of the screen under Rotations, click the button for Rotation Listing. This will take you to the screen where Rotations are managed and defined. You can either suggest a rotation that is already listed or create a new one to add goals and objectives to.
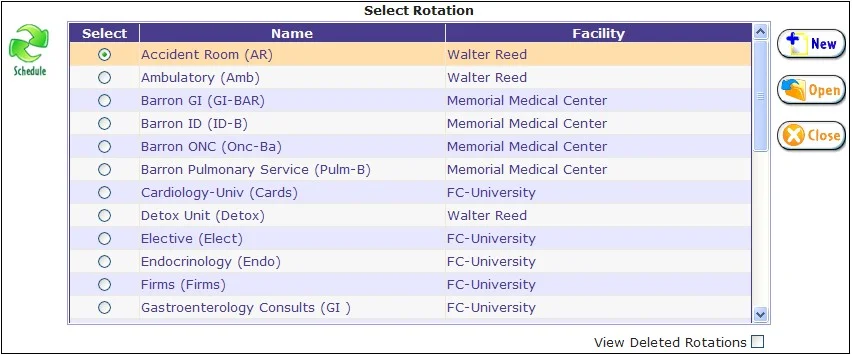
Once you have added or selected your rotation, click Open. This will bring you to the screen where you can define specific characteristics of a rotation, including a tab for goals and objectives. By clicking on that tab, it will activate a screen where you can add goals and objectives text.

To add a new goal, click the link to Select a Different Goal/Objective, then Create a New Goal/Objective. This will open the text editor where you can create a specialty for your goals to save time on re-entering them for other rotations, or you can just enter the goals and objectives without a specialty. If there are no specialties available to choose, there will be a message

Once you have entered a title and a body for your goal/objective, click Save.
Cases & Procedures ->